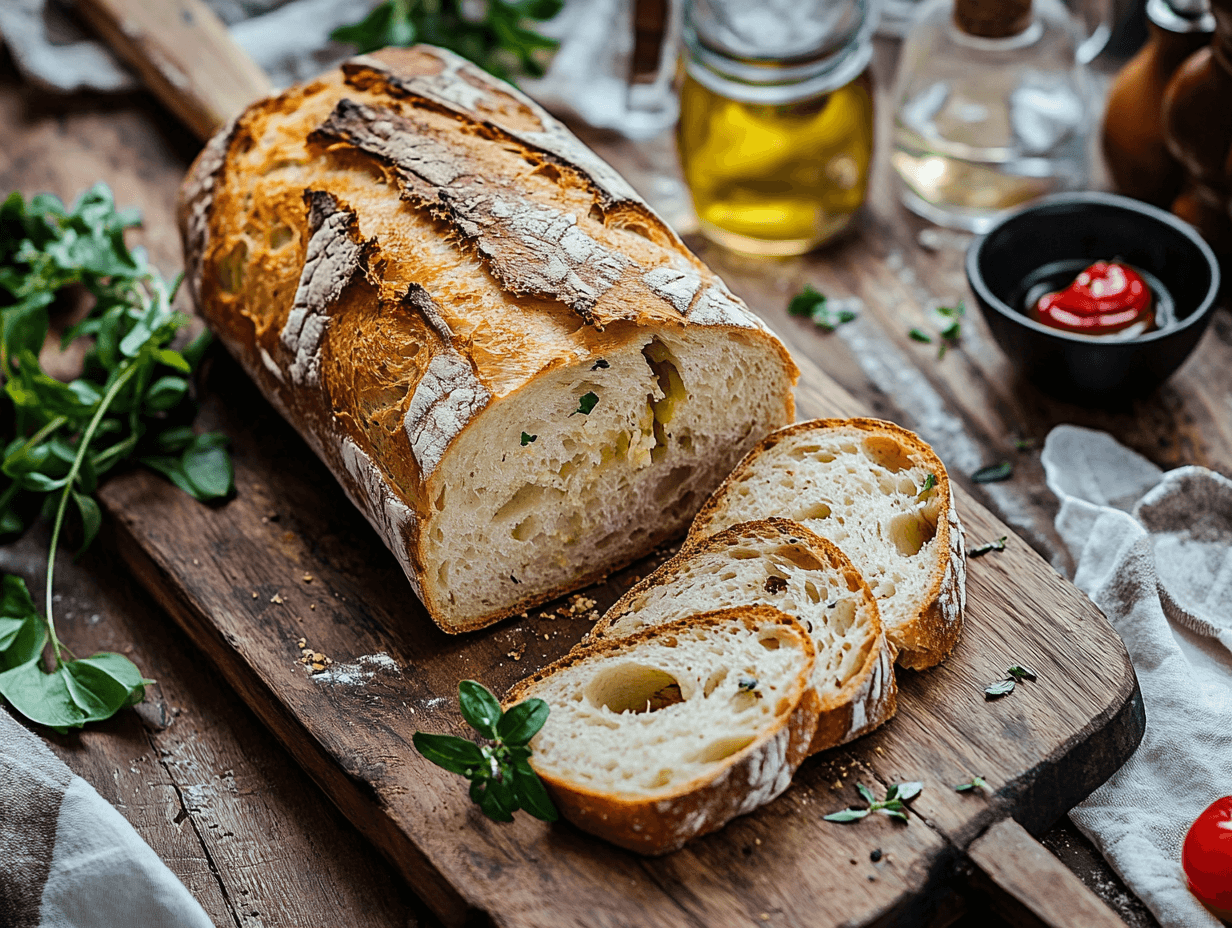
Don’t have a bread machine nearby? No problem! Here’s the best homemade bread recipe
Making homemade bread may sound like something only an expert chef would do, but it's actually easier than you think. You only need a few ingredients, a little patience, and maybe some music to make kneading more fun. Even if your dough isn't perfect on the first try, don’t worry! Every attempt brings you closer to that golden, fluffy bread that makes your whole house smell amazing. Ready to become the bread-baking hero of the day?
Tips for making good bread
Making bread at home is a rewarding experience, but there are some key details that can make the difference between an average loaf and a spectacular one. With a few small adjustments to your process, you can ensure that every loaf is soft on the inside and crispy on the outside. Here are four essential tips to keep in mind when making bread:
Precise measurements: Use a scale to weigh ingredients, especially the flour, since cups can vary in quantity and affect the final texture. Small differences in the amount of flour or water can make the bread too dry or too sticky.
Water temperature: Warm water (not hot) is crucial for properly activating the yeast without killing it. If the water is too cold, the fermentation will be slow, and if it’s too hot, it can destroy the yeast and ruin the dough.
Rest time: Let the dough rest in a warm place until it doubles in size to ensure a light and airy texture. A good fermentation time is key to developing flavors and ensuring the bread has a good structure.

What type of flour do we need to make bread?
Wheat flour: The most commonly used in baking because it contains gluten, which provides elasticity and volume to the bread. It’s ideal for light and fluffy loaves and adapts well to various recipes and kneading techniques.
Whole wheat flour: Rich in fiber and nutrients, this flour offers a more robust flavor and a denser loaf. It requires more water and resting time since the bran particles absorb more moisture. It’s perfect for those looking for a healthier bread option.
Alternative flours (rye, spelt, etc.): These flours provide intense flavors and unique textures, but they tend to produce more compact bread. Rye, for example, creates dark and dense loaves, perfect for rustic bread lovers.
For our homemade bread recipe, we’ll be using wheat flour, as it’s the most versatile and easiest to handle for achieving a soft texture and well-structured loaf.

Kneading techniques for a fluffy and perfect bread
Kneading is one of the most important parts of making bread because it develops the gluten, giving the bread its soft texture. Here are three key kneading techniques you can use to achieve perfect dough:
- Traditional kneading : This technique involves stretching and folding the dough repeatedly for 10-15 minutes. This helps activate the gluten and incorporate air into the dough, contributing to its elasticity and volume.
- Folding knead : Ideal for wetter dough, this technique involves gently stretching the edges of the dough and folding them towards the center, repeated several times. It develops the gluten without the need for vigorous kneading, perfect for artisan breads.
- Machine kneading : If you have a stand mixer with a dough hook, you can let the machine do the work. Just be careful not to over-knead, as this can cause the gluten to overdevelop and result in tough bread.

Baking tricks for perfect bread
Baking is the final stage where all the effort you’ve put into your bread comes to fruition. However, there are some tricks to help ensure it comes out perfectly baked:
Preheat the oven properly: Make sure the oven is at the right temperature before placing the bread inside. A well-preheated oven ensures a crispy crust and even cooking throughout the loaf.
Use steam in the oven: Place a container with water at the bottom of the oven for the first 10-15 minutes of baking. The steam helps create a crispy crust and prevents the interior from drying out.
Grease or flour the mold: Before placing the dough in the mold, make sure to grease it with butter or oil, or dust it with flour. This will prevent the bread from sticking and make it easier to remove from the mold once baked.
Tap the base to check if it’s done: A simple trick to know if your bread is ready is to tap the base gently. If it sounds hollow, the interior is fully cooked and ready to cool outside the oven.

How to make homemade artisan bread in 5 steps
Making homemade artisan bread is easier than it seems, and with the right ingredients and a few basic tools, you can enjoy delicious freshly baked bread right at home. Follow these steps and enjoy soft bread with a crispy crust, perfect for any occasion. Plus, you can personalize your bread with optional toppings to give it a unique touch.
Ingredients:
- 500 g of wheat flour
- 300 ml of warm water
- 10 g of salt
- 5 g of sugar
- 15 g of fresh yeast or 7 g of dry yeast
- 30 ml of olive oil (optional)
- Optional toppings: Sesame seeds, oats, dried herbs, or grated cheese.
Tools:
- A large mixing bowl
- A clean kitchen towel
- Bread pan (optional)
- Oven
- Cooling rack
- Mixer with dough hook (optional)
Instructions:
- Mix the ingredients:
- Knead the dough (by hand or with a mixer):
- Let the dough rise:
- Shape and add toppings:
- Bake and cool:
How can we serve our homemade bread?
A good homemade bread deserves to be paired with delicious accompaniments that enhance its flavor and make it even more special. Here are some classic and creative ideas to make the most of your freshly baked bread:
Butter and homemade jam: There’s nothing better than spreading a generous portion of butter on a warm slice of homemade bread. Add a sweet touch with homemade strawberry, blueberry, or any seasonal fruit jam for a perfect breakfast.
Olive oil and herbs: Dip your bread in extra virgin olive oil with a pinch of sea salt and herbs like rosemary or thyme. This simple yet elegant accompaniment enhances the flavor of the bread and is ideal as an appetizer or served alongside soup or salad.
Cheese and cold cuts: Turn your bread into a cheese and charcuterie board. Combine different types of cheese like brie, gouda, or manchego with serrano ham, salami, or chorizo. It’s an excellent option for sharing at a gathering or as a light dinner.

How long can homemade bread be stored?
Homemade bread, without preservatives, has a shorter shelf life than commercial bread. However, if stored properly, it can stay fresh for several days. In general, homemade bread can last 2 to 3 days at room temperature if stored in a cloth or paper bag, which allows the bread to breathe and maintain its crispy crust. Avoid storing it in plastic bags, as this can make the bread soggy and lose its texture.
If you want to preserve your bread for longer, you can freeze it. Slice the bread and place the slices in airtight bags. Frozen bread can last up to 3 months and still be delicious once thawed. To enjoy it as if it were freshly baked, simply heat it in the oven or toast it lightly before serving.

